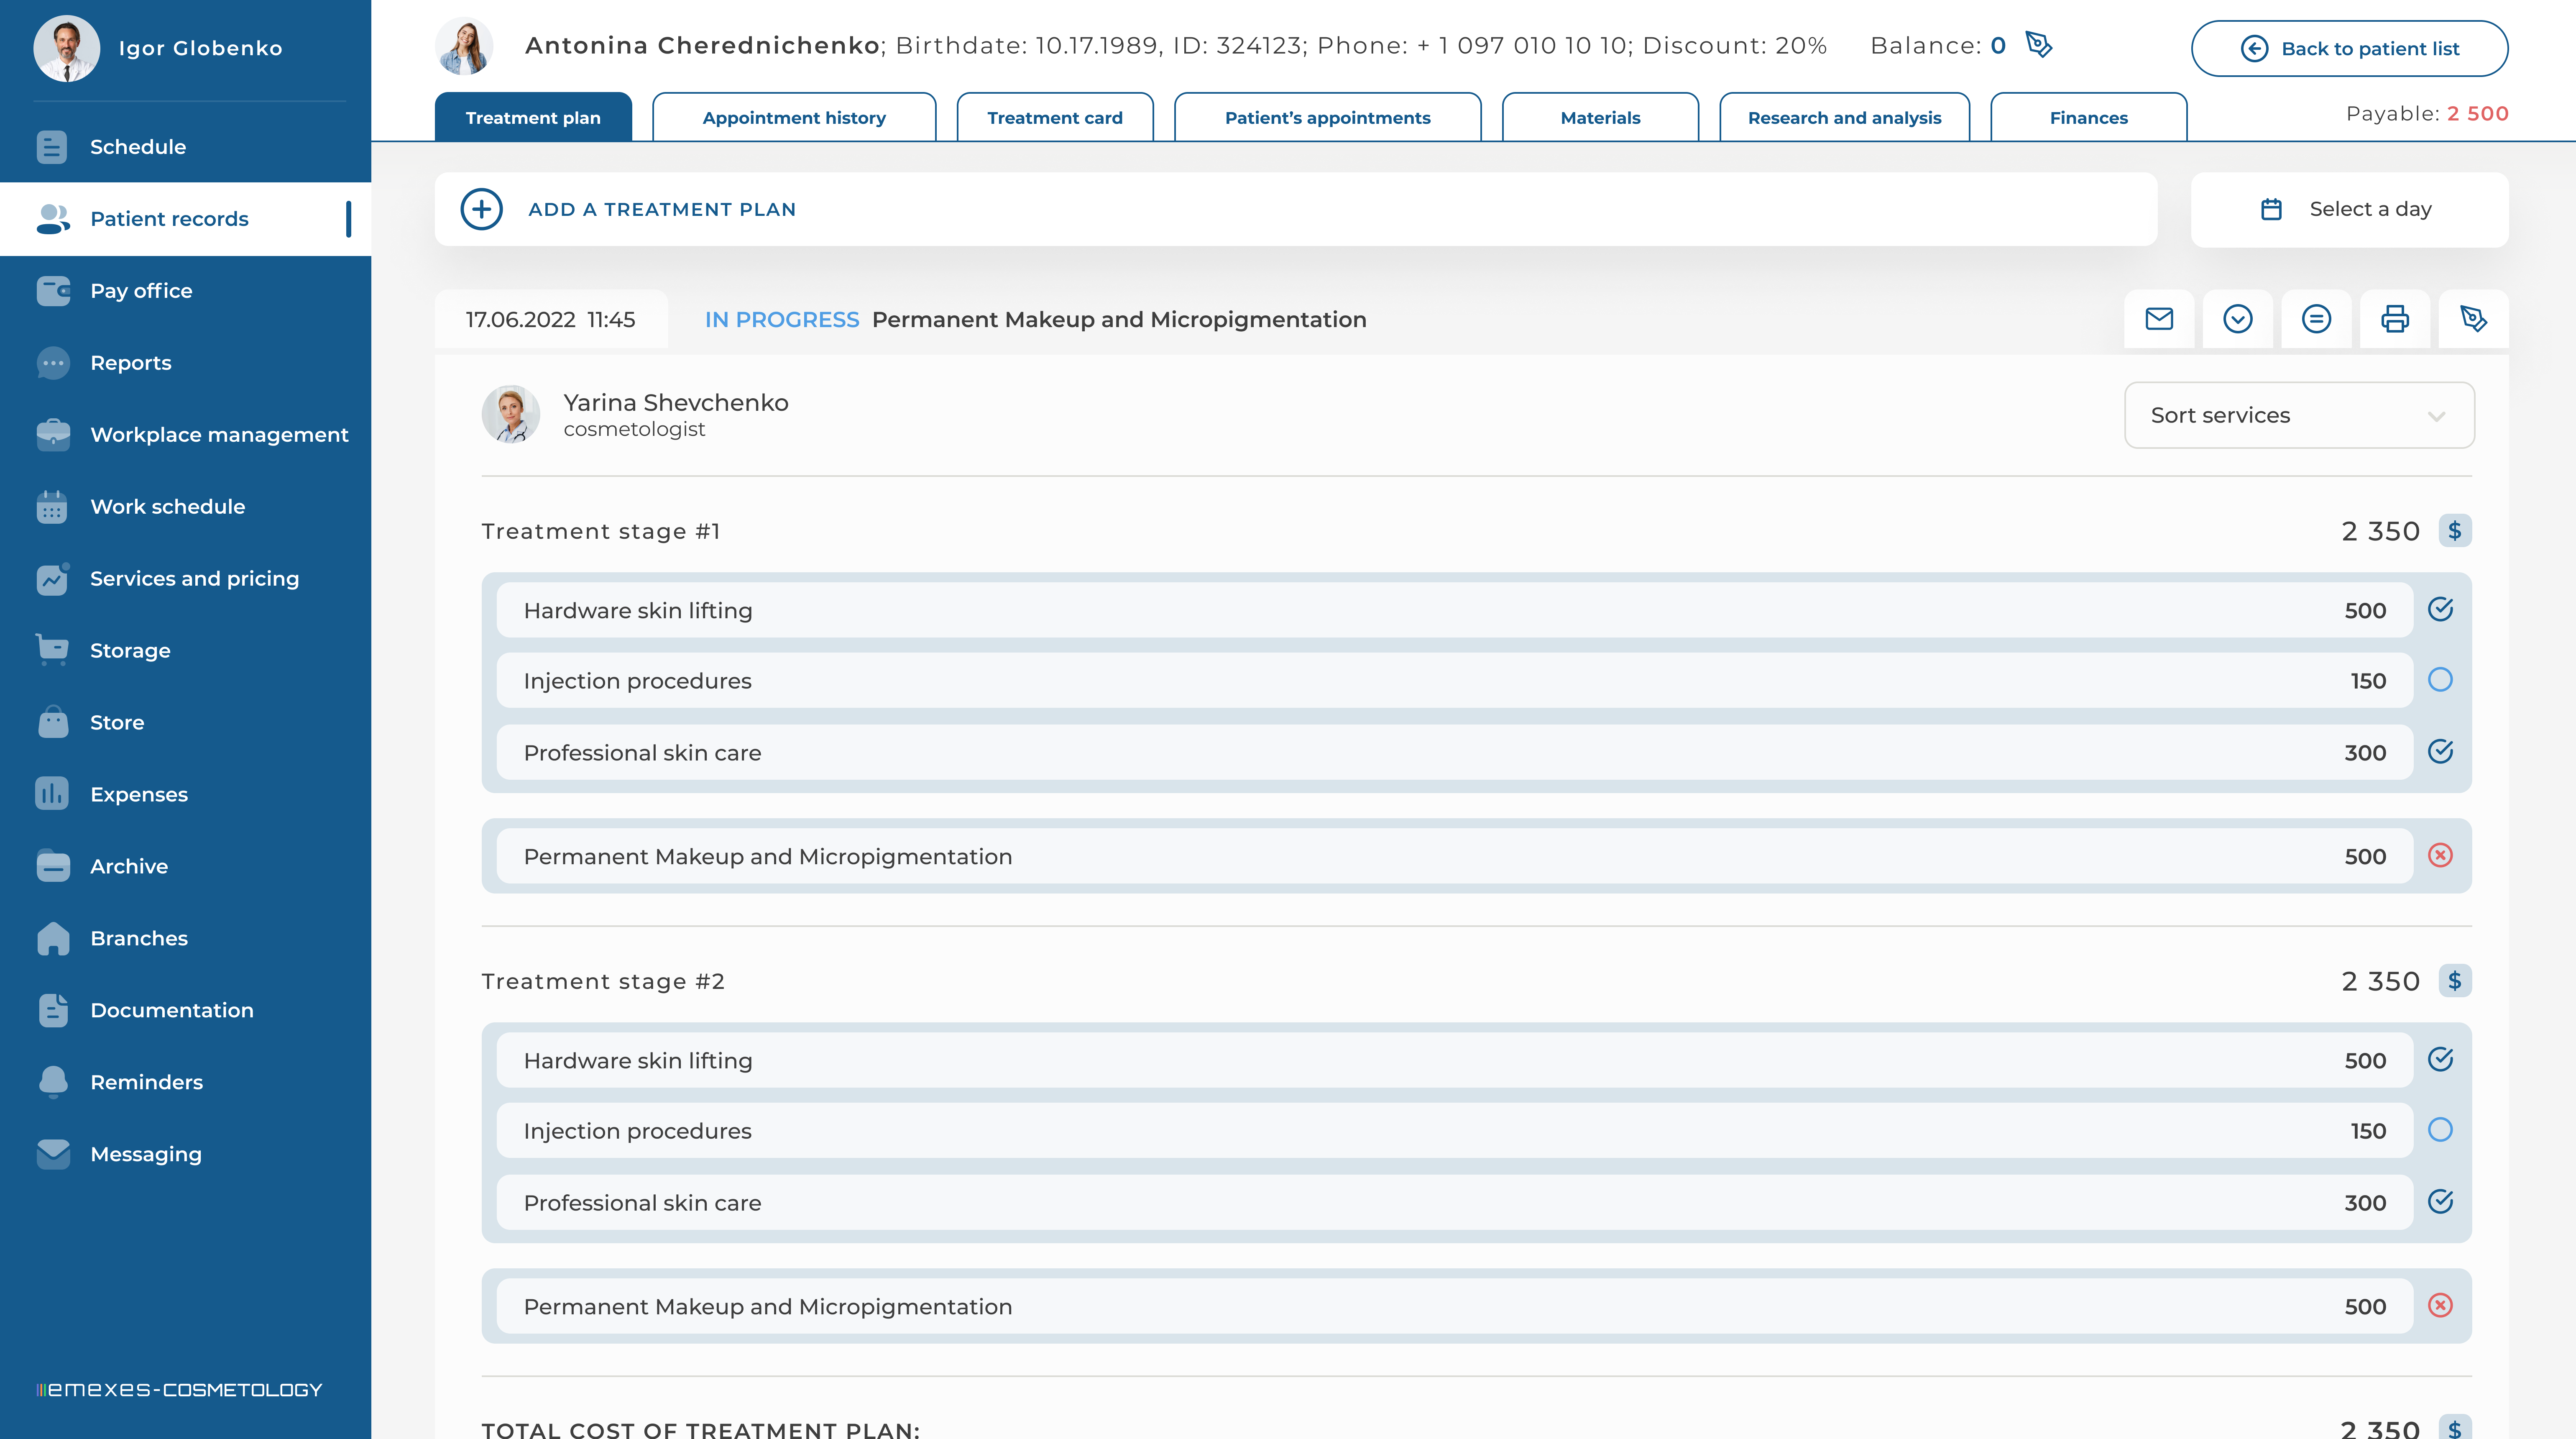
After opening the patient’s record, you will see all its sections at the top of the page. There is also a "Back to Patient List" button that allows you to return to the list.
Below, you will find the first tab, "Treatment Plan." To search for an existing plan within a specific time period, use the "Select Date" button.
TREATMENT PLANS CREATED are displayed minimized by default but can be expanded for detailed viewing if needed. This allows you to see the cost of the included procedures and print the plan. The ability to edit a treatment plan depends on whether a specialist was included in the list of doctors and assistants at the time the plan was created. Treatment plans are typically created by doctors or assistants.
The "Add Treatment Plan" button is always located above the list of existing treatment plans. After clicking it, you will need to provide the following information in the modal window:
- The Doctor who manages the treatment plan, as well as any other doctors involved in the treatment.
- An Assistant, if required by the doctor. You can also specify other assistants involved in the treatment.
- A Brief Description of the treatment plan, which will serve as its title.
Doctors and assistants specified in the modal window have access to edit and remove the treatment plan. Therefore, if a doctor wants to allow another specialist to edit the treatment plan, they must be included in the modal window during its creation.
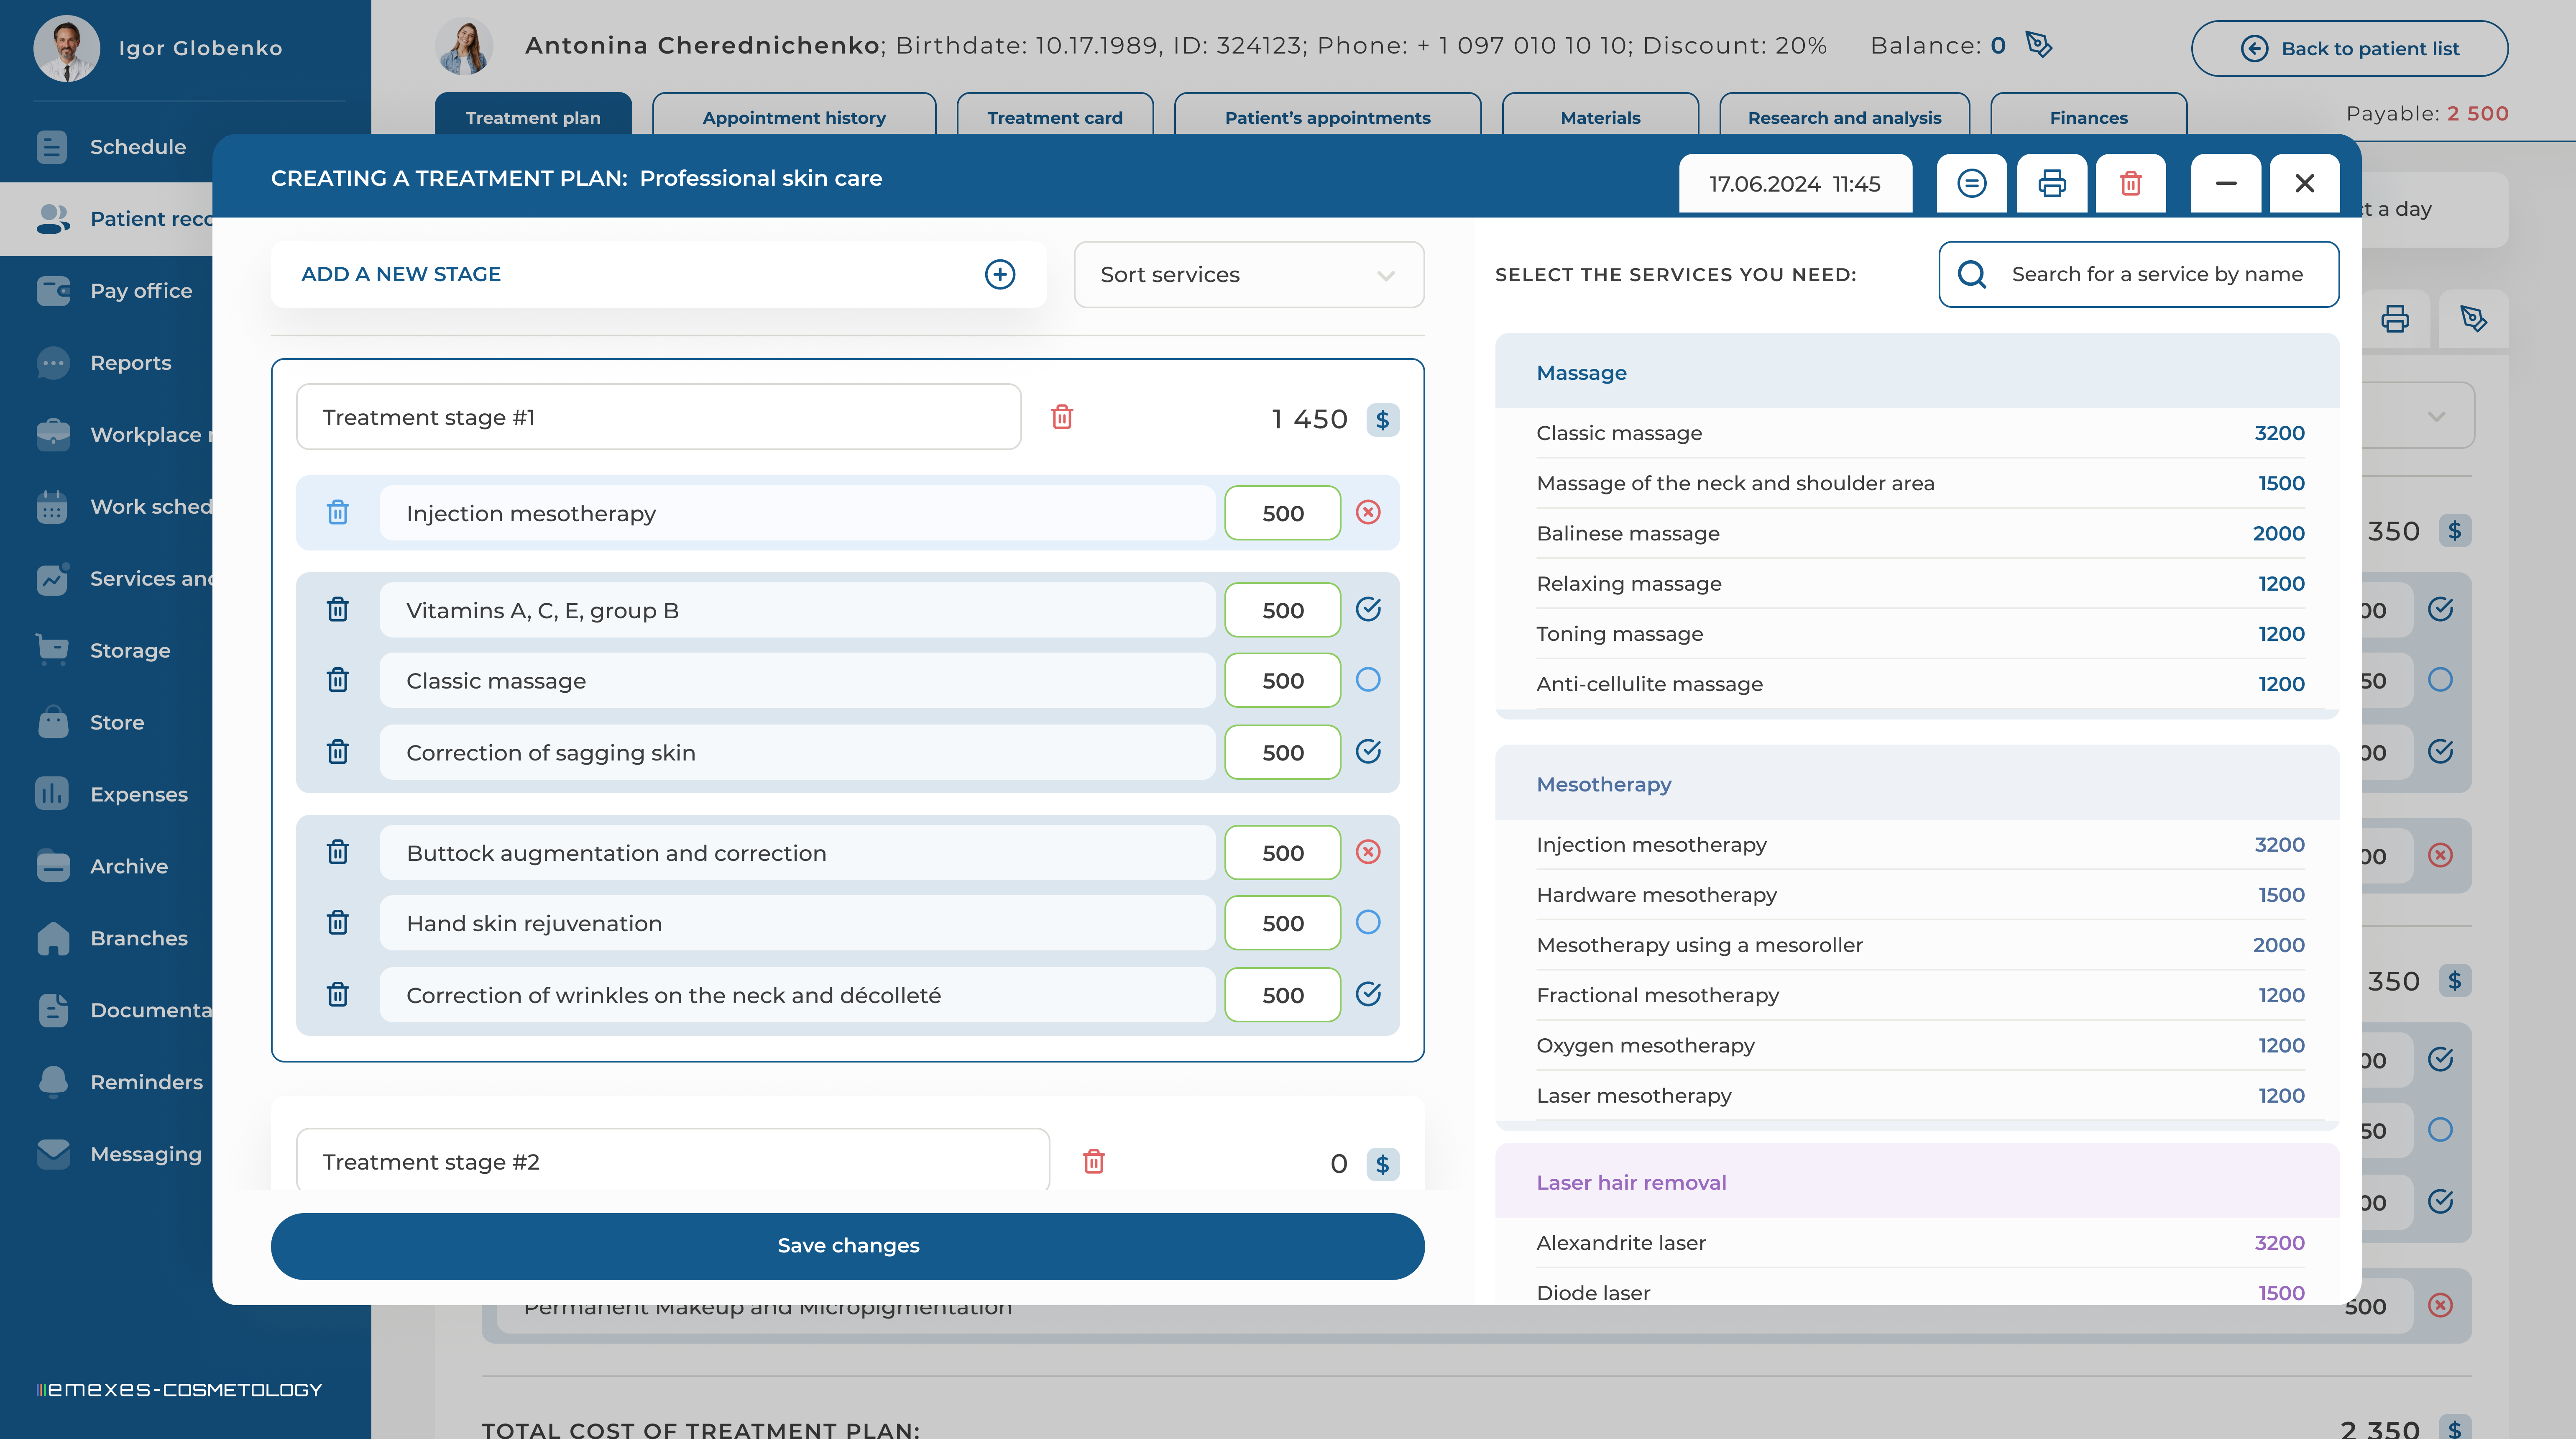
After clicking the "Save" button, a pop-up window with the new treatment plan will appear. This window can be minimized to allow viewing of other information in the system.
The treatment stages are displayed on the left, and the available procedures are shown on the right. A treatment plan may consist of a single stage or multiple stages, and each stage can be given a custom name. To add a new stage, click the "Add Stage" button at the top of the pop-up window. If needed, any stage can be removed from the treatment plan.
Treatment Plan Creation begins by adding a New Stage, after which the list of services that can be assigned to the stage becomes active on the right. When you select a service on the right, it is added to the current stage on the left.
As you add stages and services, they are automatically saved within the treatment plan. In the same window, you also have the option to hide prices generated based on the added procedures, as well as the option to print the file.
After a plan is created, it will appear in the general list. From there, you can view the treatment plan and update the status of scheduled procedures, which are added by default with the status "Not Completed."
As the patient receives treatment, doctors and assistants included in the treatment plan can change the status of procedures to "Done" or "Scheduled for Another Day."
To change the status of a service in a stage, left-click on it, and the status menu will open. This action is available both when viewing and editing the treatment plan.
To edit the treatment plan, click on the corresponding icon in the upper-right corner. Here, you will be able to make changes to the treatment plan or delete it completely.
To edit a particular Step in the treatment plan, you must first select it. Here, you can also sort the display of services by status, allowing you to print the treatment plan in the desired format.